1 Introduction
Now that we have learned about the different types of databases and what an entity-relationship diagram is, it is time to create the first SQL database. I use Server Management Studio (SSMS) from Microsoft for this.
2 Getting Started
First of all you need an on-premise SQL Server from Microsoft . You can download it here:
Next, please download SSMS:
After we have performed both installations and started SSMS the following window appears:
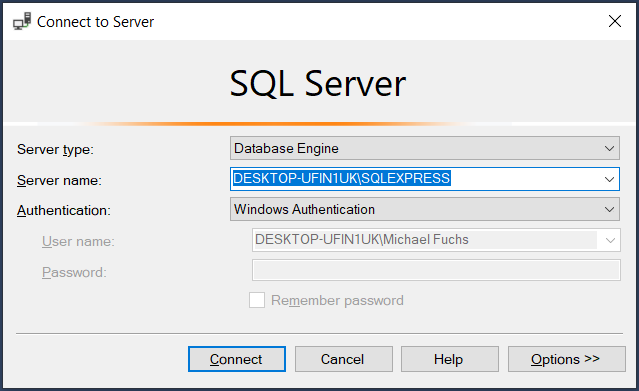
Select Server type: 'Database Engine' and the default server name.
3 Microsoft SQL Server Management Studio
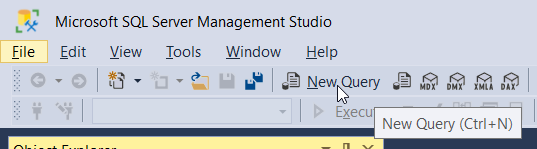
First of all we need a New Query. We can request these as follows:
Since I would like to have the output of SSMS always in English I use the following syntax.
SET LANGUAGE ENGLISH3.1 Create a new Database
To create a new database we need the following syntax:
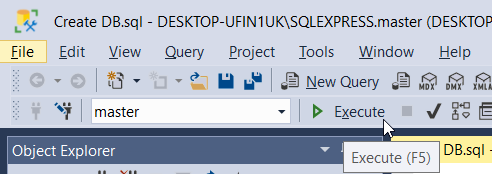
CREATE DATABASE MyDB;This command can be executed as follows (mark the desired syntax):
Now let’s have a look at our Object Explorer on the left.
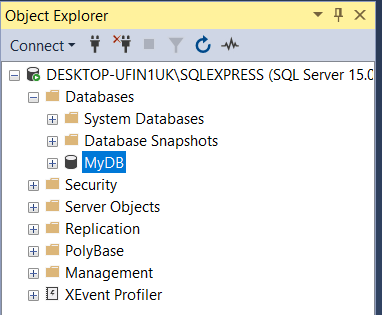
As we can see, the database has been created. But it is logically still completely empty. So we will first fill it with a table:
3.2 Create a new Table
If we want to create a new table in the created database, we must first tell the system which database I want to use:
USE MyDB;Now we are ready to create a new table in the ‘MyDB’ database.
CREATE TABLE Customer
    (ID INT NOT NULL,
    First_Name VARCHAR(100) NOT NULL,
    Last_Name VARCHAR(100) NOT NULL)
    ;
The table is named ‘Customer’ and consists of the following columns:
- ID (which must not be zero)
- First_Name (with a maximum number of 100 characters; must also not be zero)
- Last_Name (same defaults as for First_Name)
Of course you have the possibility to add a lot of other columns with different data types.
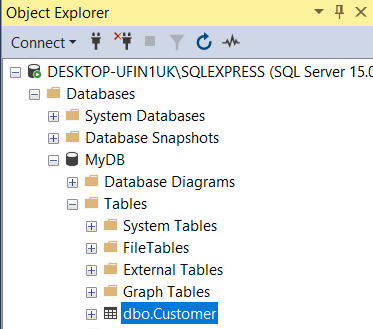
Here we can see that the ‘Customers’ table has been created under the ‘MyDB’ database:
3.2.1 A glimpse at the new Table
To take a look at the table, a select statement can be executed:
SELECT * FROM Customer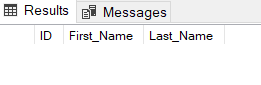
3.2.2 Inserting values into the Table
The next step is to fill the table with values. This is done using the insert command.
INSERT INTO Customer (ID, First_Name, Last_Name) VALUES (1, 'Michael', 'Fuchs')Let’s take another look at the table:
SELECT * FROM Customer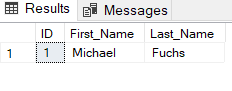
Tip! You can also write the INSERT command like this:
INSERT INTO Customer VALUES (1, 'Michael', 'Fuchs')The column names can, but do not have to, be named.
3.2 Create a Database for Data Manipulation
Now I want to create another database with two tables, which I want to delete afterwards.
Tip: Execute the command USE DB_to_Delete separately, otherwise the two tables will be written to the database ‘MyDB’.
CREATE DATABASE DB_to_Delete;
USE DB_to_Delete;
CREATE TABLE Table_1
(ID INT NOT NULL,
First_Name VARCHAR(100) NOT NULL,
Last_Name VARCHAR(100) NOT NULL)
;
CREATE TABLE Table_2
(ID INT NOT NULL,
First_Name VARCHAR(100) NOT NULL,
Last_Name VARCHAR(100) NOT NULL)
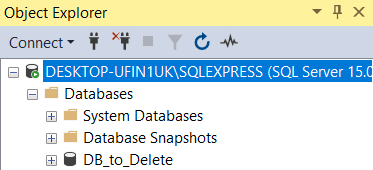
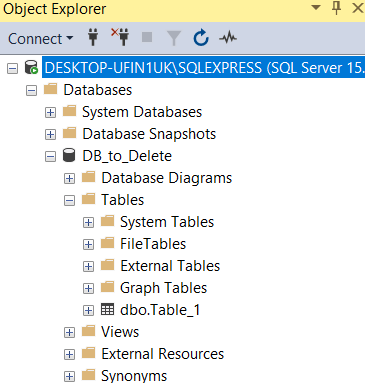
;Here is the created database:
And here are the tables created:
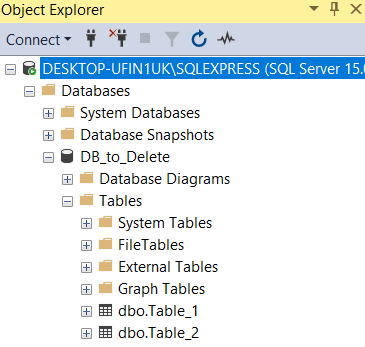
Let’s have a look at the tables again (they are displayed according to the order in which the commands are written, so Table_1 is shown at the top and Table_2 at the bottom).
SELECT * FROM Table_1
SELECT * FROM Table_2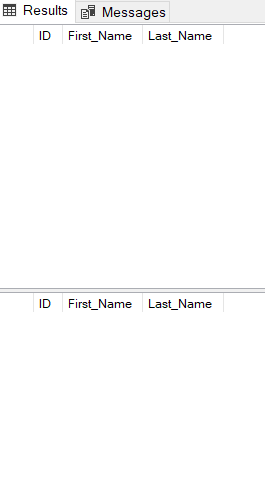
3.2.1 Delete specific Columns
The following command can be used to delete certain columns:
ALTER TABLE Table_1 DROP COLUMN ID;

ALTER TABLE Table_2 DROP COLUMN First_Name, Last_Name;
SELECT * FROM Table_1
SELECT * FROM Table_2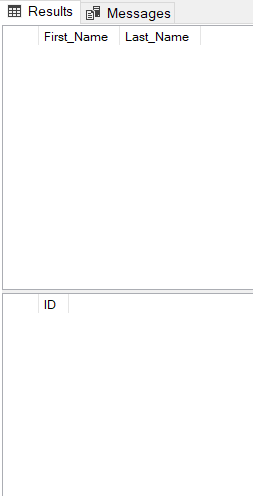
We can see that in Table_1 the column ‘ID’ is missing and in Table_2 the columns ‘First_Name’ and ‘Last_Name’.
3.2.2 Add new Columns
Just as we can delete columns, we can also add new columns to existing tables.
ALTER TABLE Table_1 ADD Further_Column VARCHAR(100) NOT NULL;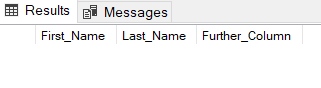
3.2.3 Delete the table contents
Now the next step is to fill the modified table with new rows.
INSERT INTO Table_1 (First_Name, Last_Name, Further_Column) VALUES ('Michael', 'Fuchs', 'some_text')
INSERT INTO Table_1 (First_Name, Last_Name, Further_Column) VALUES ('Alex', 'Smith', 'some_text')
INSERT INTO Table_1 (First_Name, Last_Name, Further_Column) VALUES ('John', 'Green', 'row_to_delete')
SELECT * FROM Table_1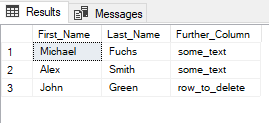
3.2.3.1 Delete specific rows
With the following command we have the possibility to delete certain rows from your table:
DELETE FROM Table_1
    WHERE Further_Column = 'row_to_delete'
    ;
Let’s take another look at the table:
SELECT * FROM Table_1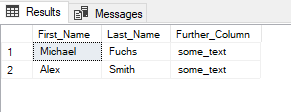
3.2.3.2 Delete the entire content
With the command TRUNCATE we can delete the contents of a table, but keep the table in and of itself.
TRUNCATE TABLE Table_1;SELECT * FROM Table_1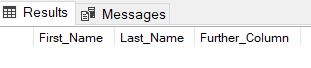
3.2.4 Delete the whole Table
DROP TABLE Table_2;By executing the command shown above, we have deleted the entire table (‘Table_2’).
3.2.5 Delete the whole Database
Like tables, entire databases can be deleted.
DROP DATABASE DB_to_Delete;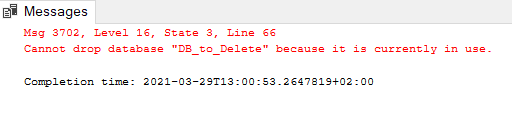
We get the error message shown above. To be able to delete the database, it must not be in use. A simple workaround is to tell the system to use another database (here ‘MyDB’) and then execute the drop command.
USE MyDB;
DROP DATABASE DB_to_Delete;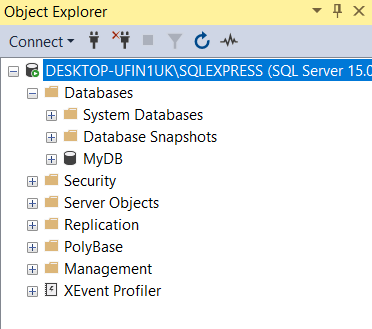
Worked.
But what do we do if we do not have the possibility to switch to another database like here:
USE MyDB;
DROP DATABASE MyDB;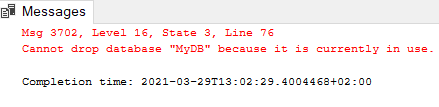
At SSMS we also have the possibility to delete tables and databases via Object Explorer.
To do this, we right-click on the database and select Delete. Don’t forget to check the box ‘Close existing connections’.

4 Conclusion
This was a small introduction to the topic of how to create databases and tables with SQL statements and fill them with values. Furthermore I showed how to delete columns, tables and whole databases.
If you want to know how to set up a database properly, check out this post from me as well: Normalization of Databases